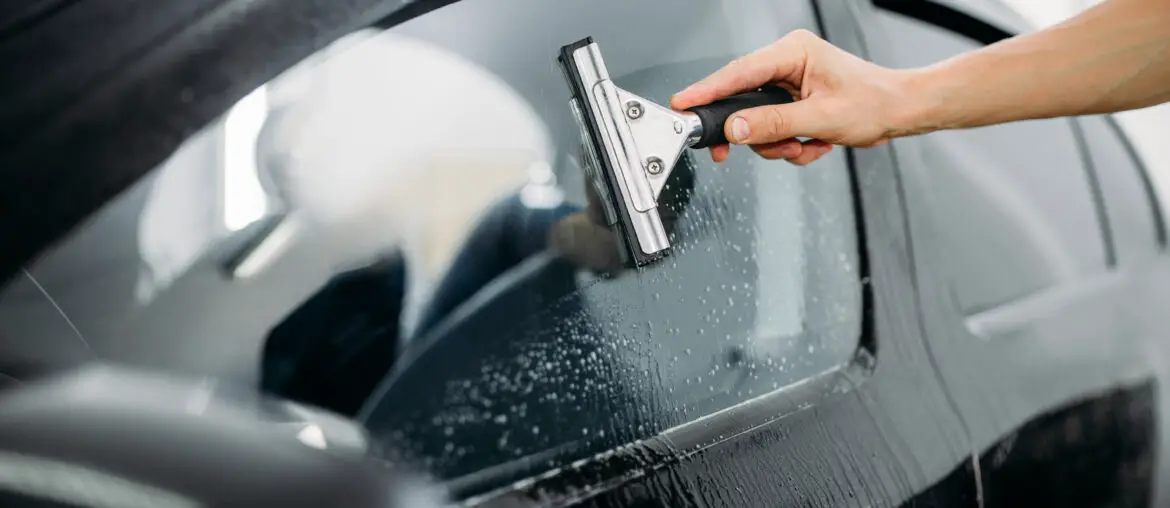
Installing window tint is a fantastic home improvement project that offers many benefits. It can lower your energy bills, protect your furnishings from the harmful UV rays, increase safety and privacy, and even add a stylish touch to your home decor. However, if not executed properly, you can end up with unsightly bubbles trapped in the tint, which can detract from the project’s overall aesthetic appeal. In this article, we’ll explore the common causes of bubbles in window tint and provide a comprehensive step-by-step guide on how to effectively fix them.

Image: olivecocomag.com
Understanding the Root Causes of Bubble Formation
Bubbles in window tints primarily result from trapped air or moisture between the tint film and the glass surface. Several factors can contribute to bubble formation, including:
-
Improper surface preparation: Dirt, dust, and oils on the glass can create a barrier between the tint and the glass, leading to poor adhesion and bubble formation.
-
Insufficient wetting: The window tint film must be thoroughly saturated with a wetting solution to ensure proper bonding with the glass. If the wetting solution is not applied adequately, dry spots can occur, resulting in bubbles.
-
Incorrect installation techniques: Using improper tools or techniques during tint application can trap air bubbles underneath the film.
-
Temperature and humidity: Extreme heat or cold can affect the elasticity of the tint film, making it more prone to bubbling. In contrast, high humidity levels can cause condensation, leading to moisture between the film and the glass.
Step-by-Step Guide to Eliminating Bubbles
If you encounter bubbles after installing window tint, don’t fret; it’s possible to fix them using the following steps:
-
Safety first: Before starting the repair process, gather necessary safety gear, such as gloves and a face mask.
-
Prepare your tools: You will need a sharp blade, a small squeegee, a spray bottle filled with a mixture of water and dish soap, and a clean microfiber cloth.
-
Position the film: Use the blade to carefully cut the bubble along its edge. Be gentle and avoid cutting through the film.
-
Drain the bubble: Use the squeegee to gently push the trapped air or moisture out towards the cut edge. Work slowly and carefully to avoid creating more bubbles.
-
Reseal the edge: Once the bubble is drained, use your finger or the squeegee to press down on the cut edge to reseal the tint film.
-
Clean the surface: Use the microfiber cloth to wipe away any excess solution or debris. Allow the area to dry completely.
Preventive Measures to Avoid Future Bubbles
Now that you are equipped with the bubble-busting skills, here are some preventive measures to consider for future window tint installations:
-
Thoroughly clean the glass surface: Use a cleaning solution specifically designed for window tint installation to remove all contaminants from the glass.
-
Apply the wetting solution liberally: Ensure that the tint film is completely soaked in the wetting solution before applying it to the glass.
-
Use the right tools for the job: Invest in a sharp blade, a soft squeegee, and high-quality wetting solution.
-
Maintain proper temperature and humidity: Install window tint in a temperature-controlled environment with moderate humidity levels.
-
Consult an expert: If you are hesitant about DIYing the window tint installation, don’t hesitate to seek professional help. An experienced tint installer will have the expertise and tools to ensure a flawless finish.
Image: housegrail.com
How To Fix Bubbles In Window Tint
Conclusion
By following the simple steps outlined above, you can effectively fix bubbles in window tint and achieve a smooth, flawless finish. Remember, patience and attention to detail are key to a successful window tint installation. If you encounter any hurdles, refer back to this article or consider reaching out to a professional for assistance. Enjoy the benefits of window tint, knowing that you have the skills to address any issues that may arise.